Featured Post

Áine and Gary’s Cliffside Tuscany Wedding with a Reception Amongst the Trees by D2 Photography
As you may be aware I LOVE a destination wedding! There is nothing better than...
As you may be aware I LOVE a destination wedding! There is nothing better than...
8
Apr
2013
By Boho
Today we welcome back the lovely Laura from The Mrs Makes to the Blog for today’s DIY Tutorial. This is a very exciting week for Laura as she is getting married on Saturday. I have been involved with Laura’s wedding plans for such a long time, I don’t think either of us thought her wedding day would get here. But in 5 days she will become Mrs Parker and I know she is beyond excited!
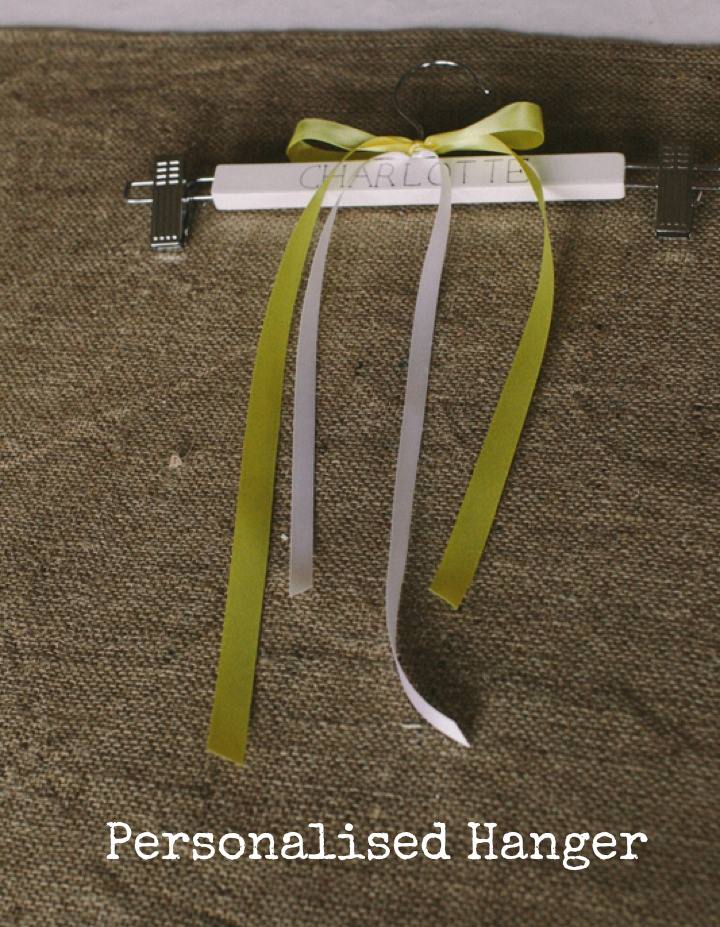
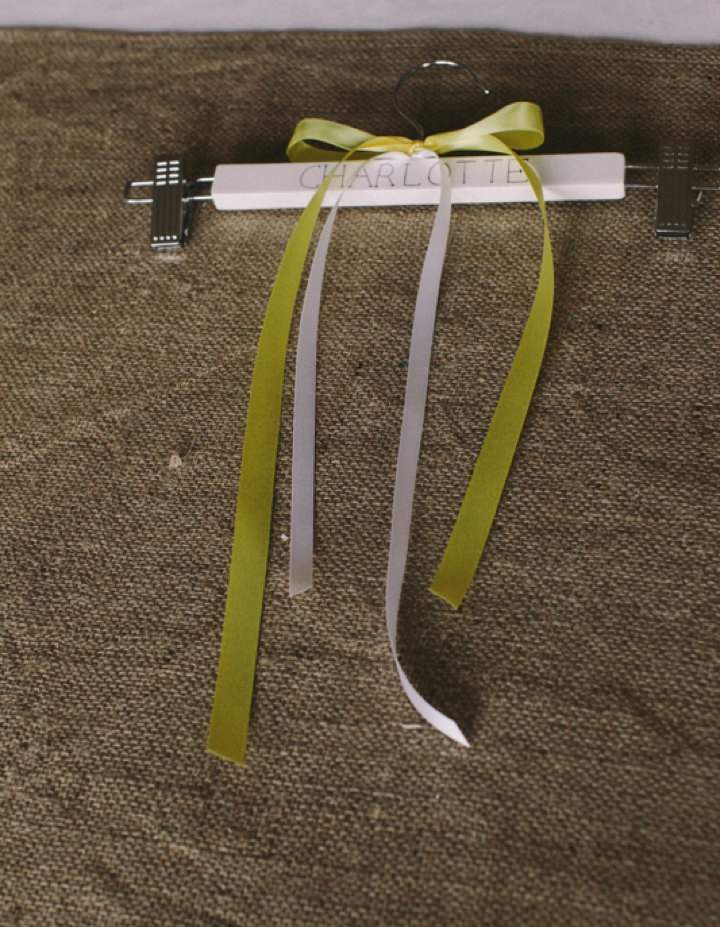
Today Laura is showing us how to make these quick and easy personalised Hangers, perfect for the bride to hang her dress on the wedding day as well as the Bridesmaids so the dresses don’t get mixed up, and also the ushers and best man! Why not make one anyway, for a special outfit you have in your wardrobe!
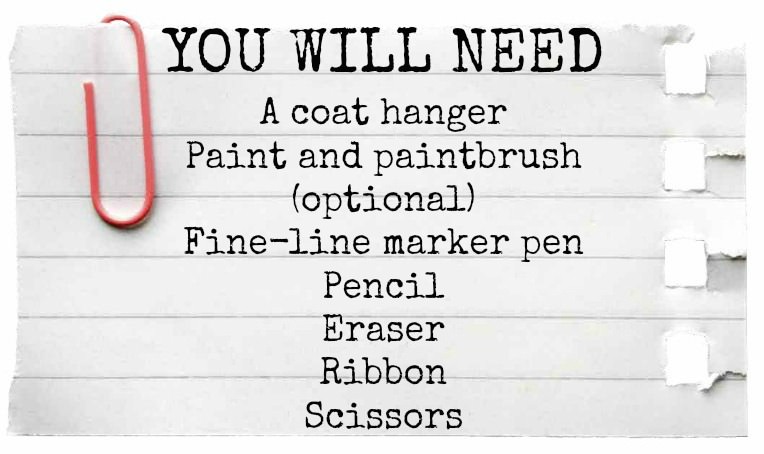
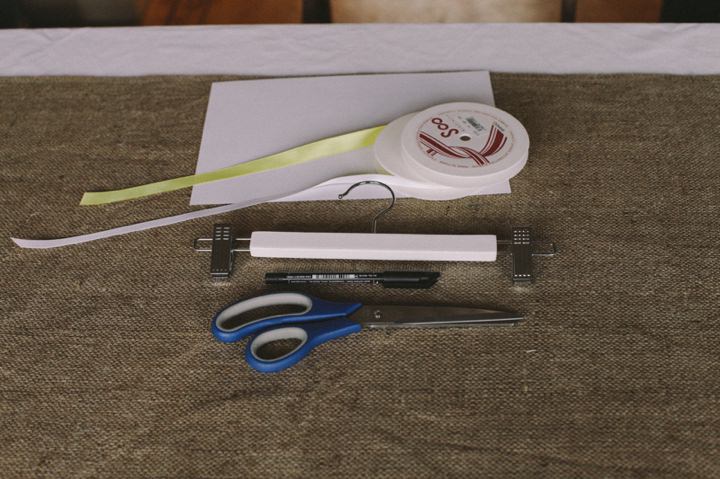
Step 1) Select the hanger which best suits the dresses/clothing. Get wooden ones if you can – they are better quality.
Step 2) If you don’t like the colour they are – paint them! They will probably need a couple of coats
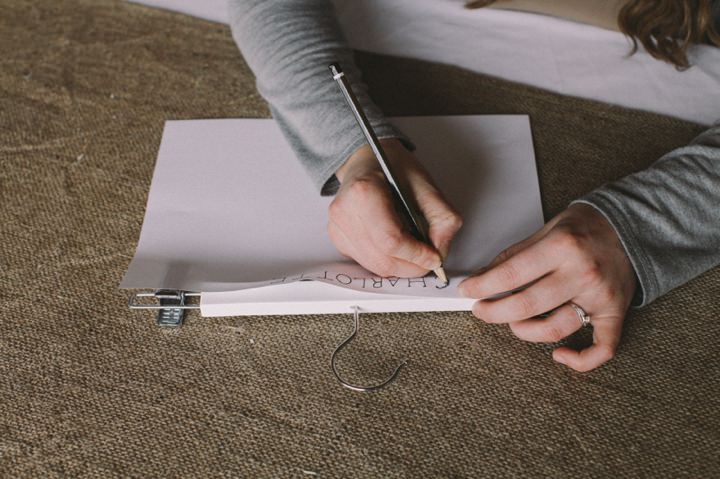
Step 3) You can either now freehand the writing onto the hanger, or trace it on from a piece of paper.
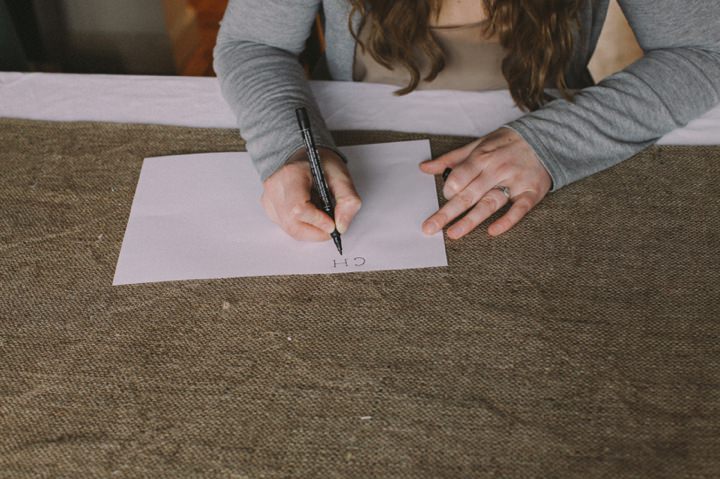
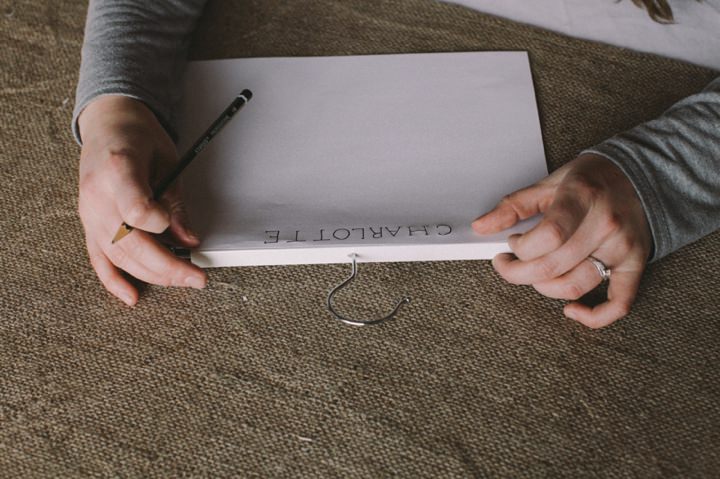
Step 4) Either way, I suggest you practice first in pencil. You can always rub any visible pencil lines out after
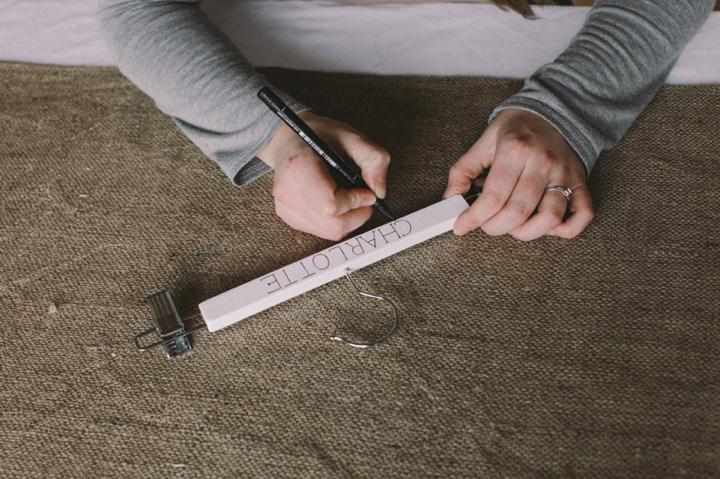
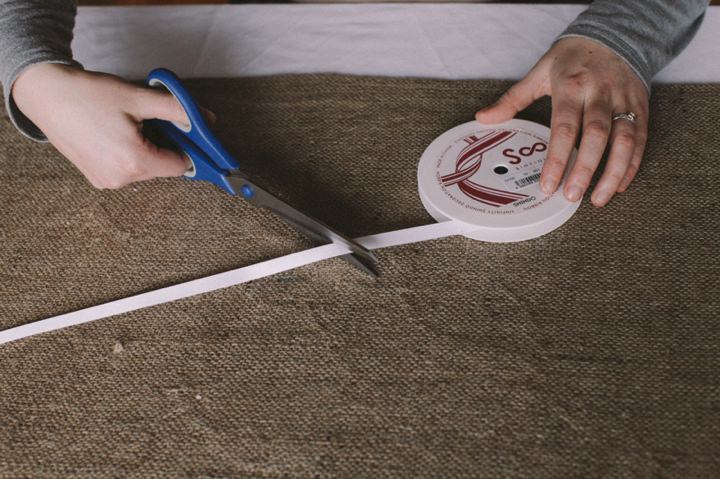
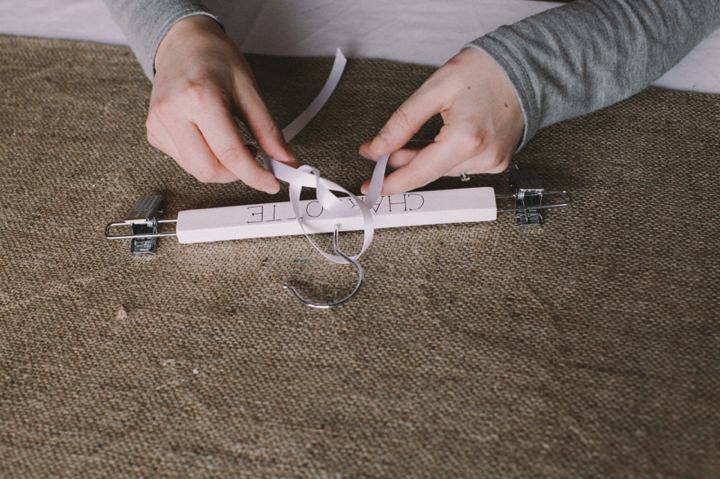
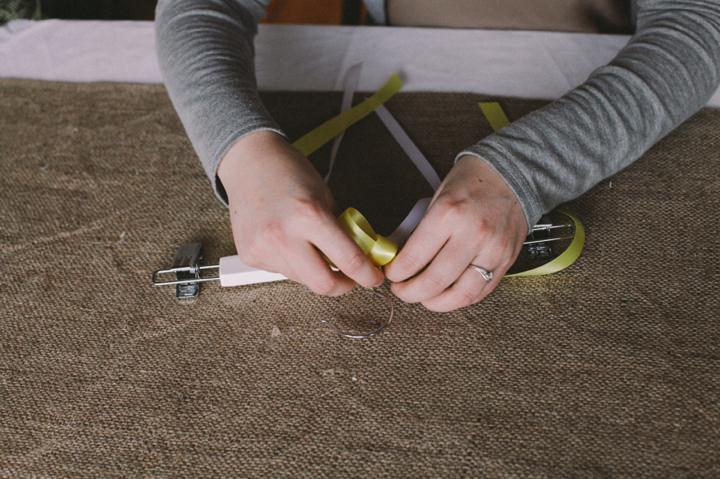
Step 5) Cut a few lengths of ribbon and tie around the hanger, then hang your dress ready for the big day! My bridesmaid’s dresses are exactly the same so this makes sure no-one gets the wrong dress on the morning!
Thanks Laura. Even though she will be married Laura will be back to the blog with more DIY Tutorials in a few weeks time, there is now stopping this women!
www.themrsmakes.com
FACEBOOK
@TheMrsMakes
www.jesspetrie.com
[email protected]
FACEBOOK
TWITTER
07581209794
Share this post
This site uses Akismet to reduce spam. Learn how your comment data is processed.


Comments