Featured Post
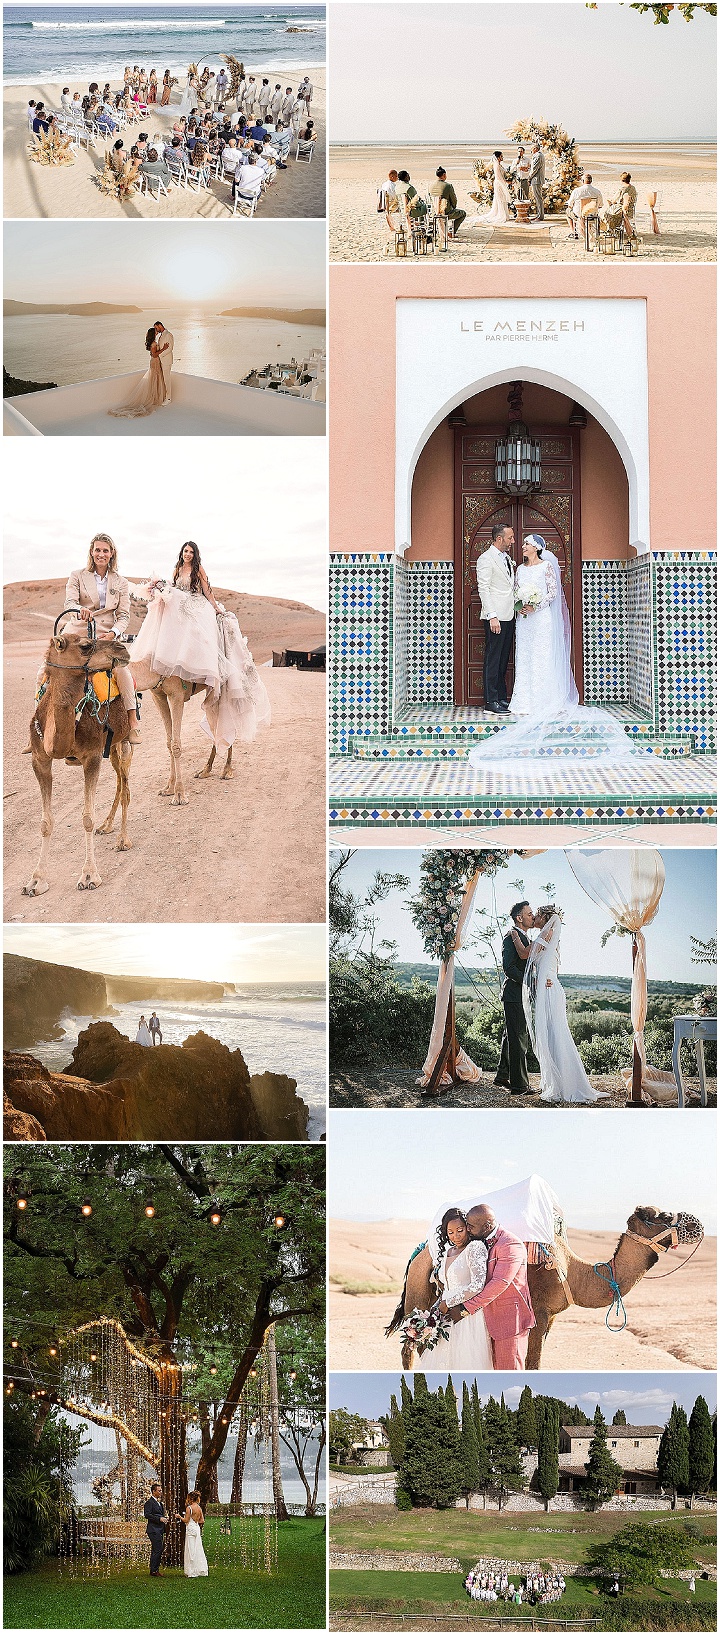
Boho Pins: The Best of Boho – Destination Weddings
On this weeks Boho Pins I am looking at destination weddings. Now as you may...
On this weeks Boho Pins I am looking at destination weddings. Now as you may...
18
Mar
2013
By Boho

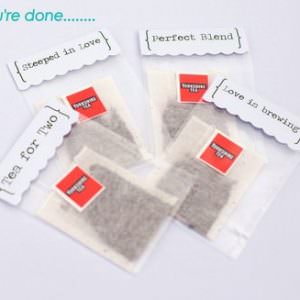
Today I’m really pleased to welcome Jen back to the blog. Her own wedding was featured here last year Jenny and Josh’s Relaxed, Handmade and Crafty Cambridge Wedding and since then she has bee creating some wonderful DIY tutorials for the Blog. Jen also has her own craft Blog called Tea For Two which she runs with her twin sister Elena.
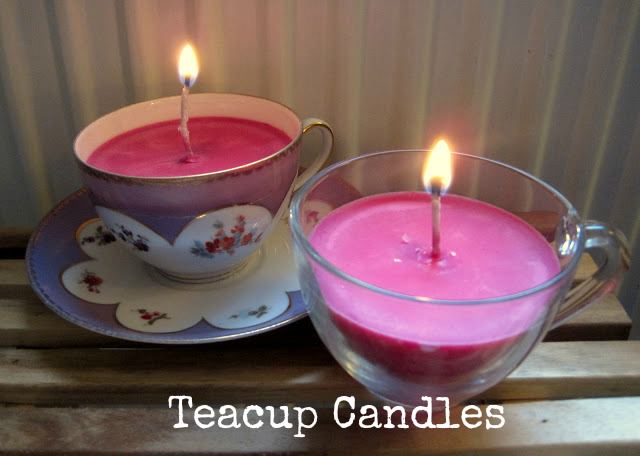
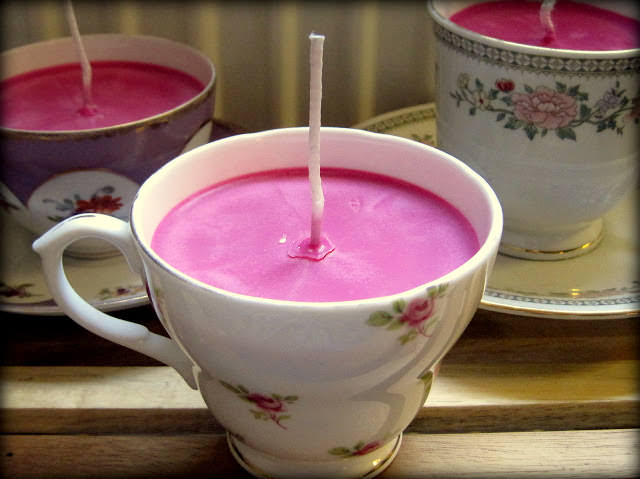
Today Jen is going to be showing us how to make these cute Teacup Candles, which can be used as part of your wedding decoration, as favours, or as pretty birthday gifts or Christmas presents.
Hello all!
Teacup candles are really popular right now, and you can pay anything from £10 upwards in shops for them. But making your own is actually really simple and can add that lovely homemade vintage-chic look to your tables. Plus they can double as favours!
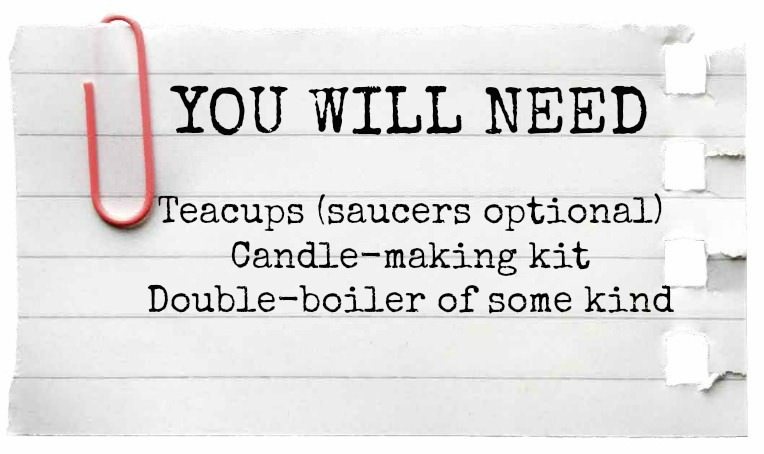
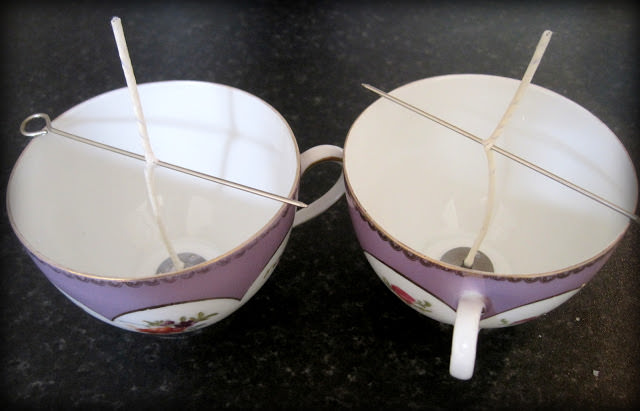
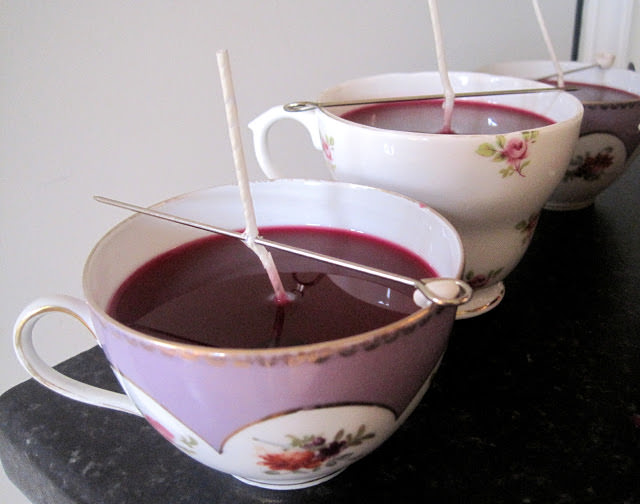
Step 1) Start by preparing your teacups with their wicks. My kit came with wicks and tabs to stick to the bottom of the cup, which was so useful. But you can easily do this with glue or tape. Then tie the top of the wick (leaving enough length above the top of the cup) to your pin and balance this so that the wick stays in the centre of the cup.
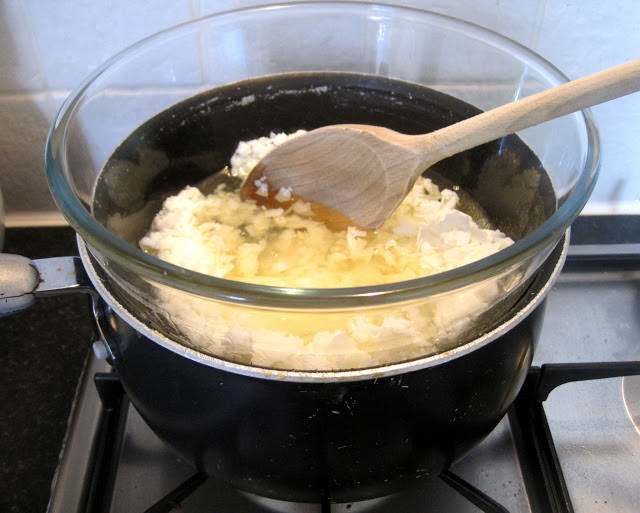
Step 2) Next, put boiling water in your pan and empty the wax into the bowl, then melt this over the water pan on a low heat on the hob. Be patient and don’t let the water over-boil. I did it bit by bit, slowly adding more of the wax once the rest had melted.
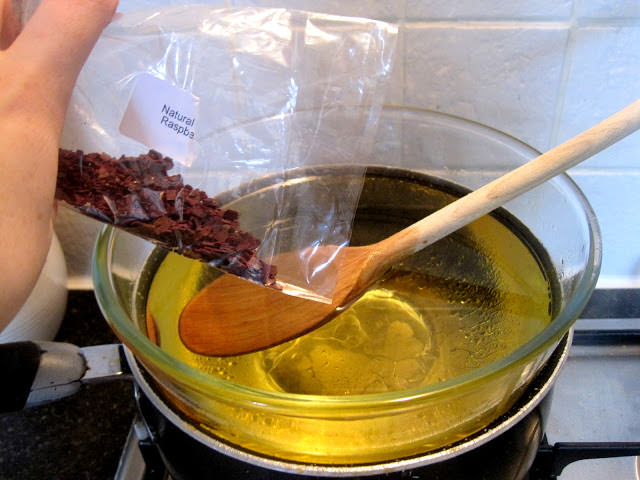
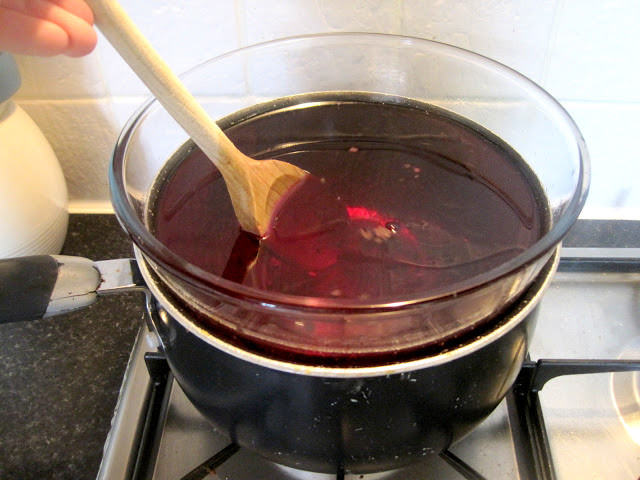
Step 3) When all of the wax has melted empty your dye into it. I chose a pretty raspberry colour to match the colour scheme at my wedding.
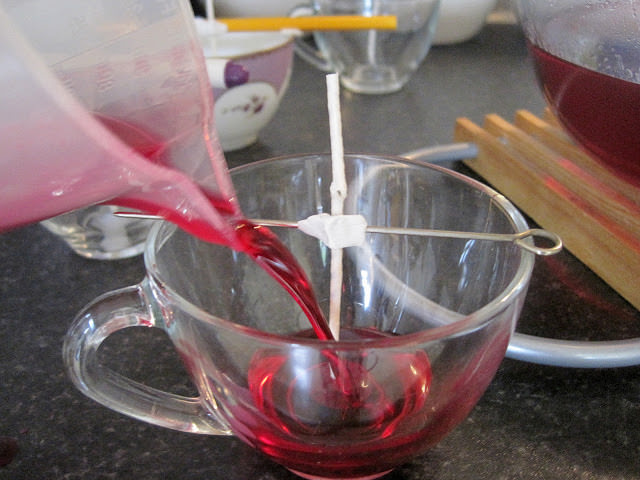
Step 4) Then (very carefully!) pour the molten wax into your teacups. My 1kg wax filled 8 teacups which I was so pleased with! Definitely excellent value for money. Allow to set for 24 hours.
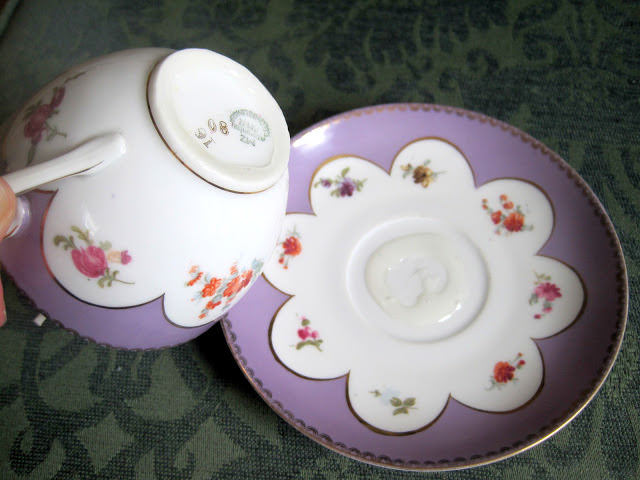
Step 5) Once the wax is completely set glue any cups to their saucers so that you have a complete teacup candle. I chose to do some with saucers and some without, so I’ve got a beautiful mix of styles and sizes!
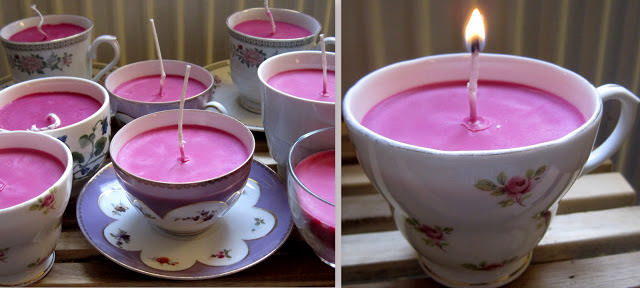
Et voila! Better-than-shopbought beautiful vintage teacup candles!
Thanks so much Jen. Jen will be back in a few weeks to share with us another one of her fab creations.
For more ideas from Jen go to:
http://teafortwodiary.blogspot.co.uk
[email protected]
PINTEREST
Share this post


What a great idea!
These are gorgeous! If you wanted them to be scented would you just drop a few drops of scented oils into them? Lovely post. Your blog looks so gorgeous now. Works fab on ipad too! X
Thanks for the tips Julie.
And so glad you like the blog. xxxx
Thanks for the tips Julie.
Hi,
I just wanted to say thank you for this tutorial. I am in the process of organising my own wedding, and have been thinking about making my own candles. I want to use jars for my wedding, but so love the teacup idea, that I want to make them too, for gifts. I am busy collecting teacups and saucers at the mo. I would also like to scent mine. Do you have any ideas on how to scent them and could I ask which candle making kit you used as I have been looking at them and can’t work out which is the best one to buy?
Your wicks are too tall. You need to get a wick trimmer and trim them done or else your candle will not burn correctly and form a pool of wax. This was posted in 2013 so maybe you have trimmed but for anyone coming past this tutorial. Trim your wicks.
Thanks for your share ..
I am impressed with your unique concept. Your Candle making is so wonderful.
They are Gorgeous !!! Teacup candles are really amazing work.
Thank you so much Boho.
Have you tried our fabulous wedding directory?
discover more